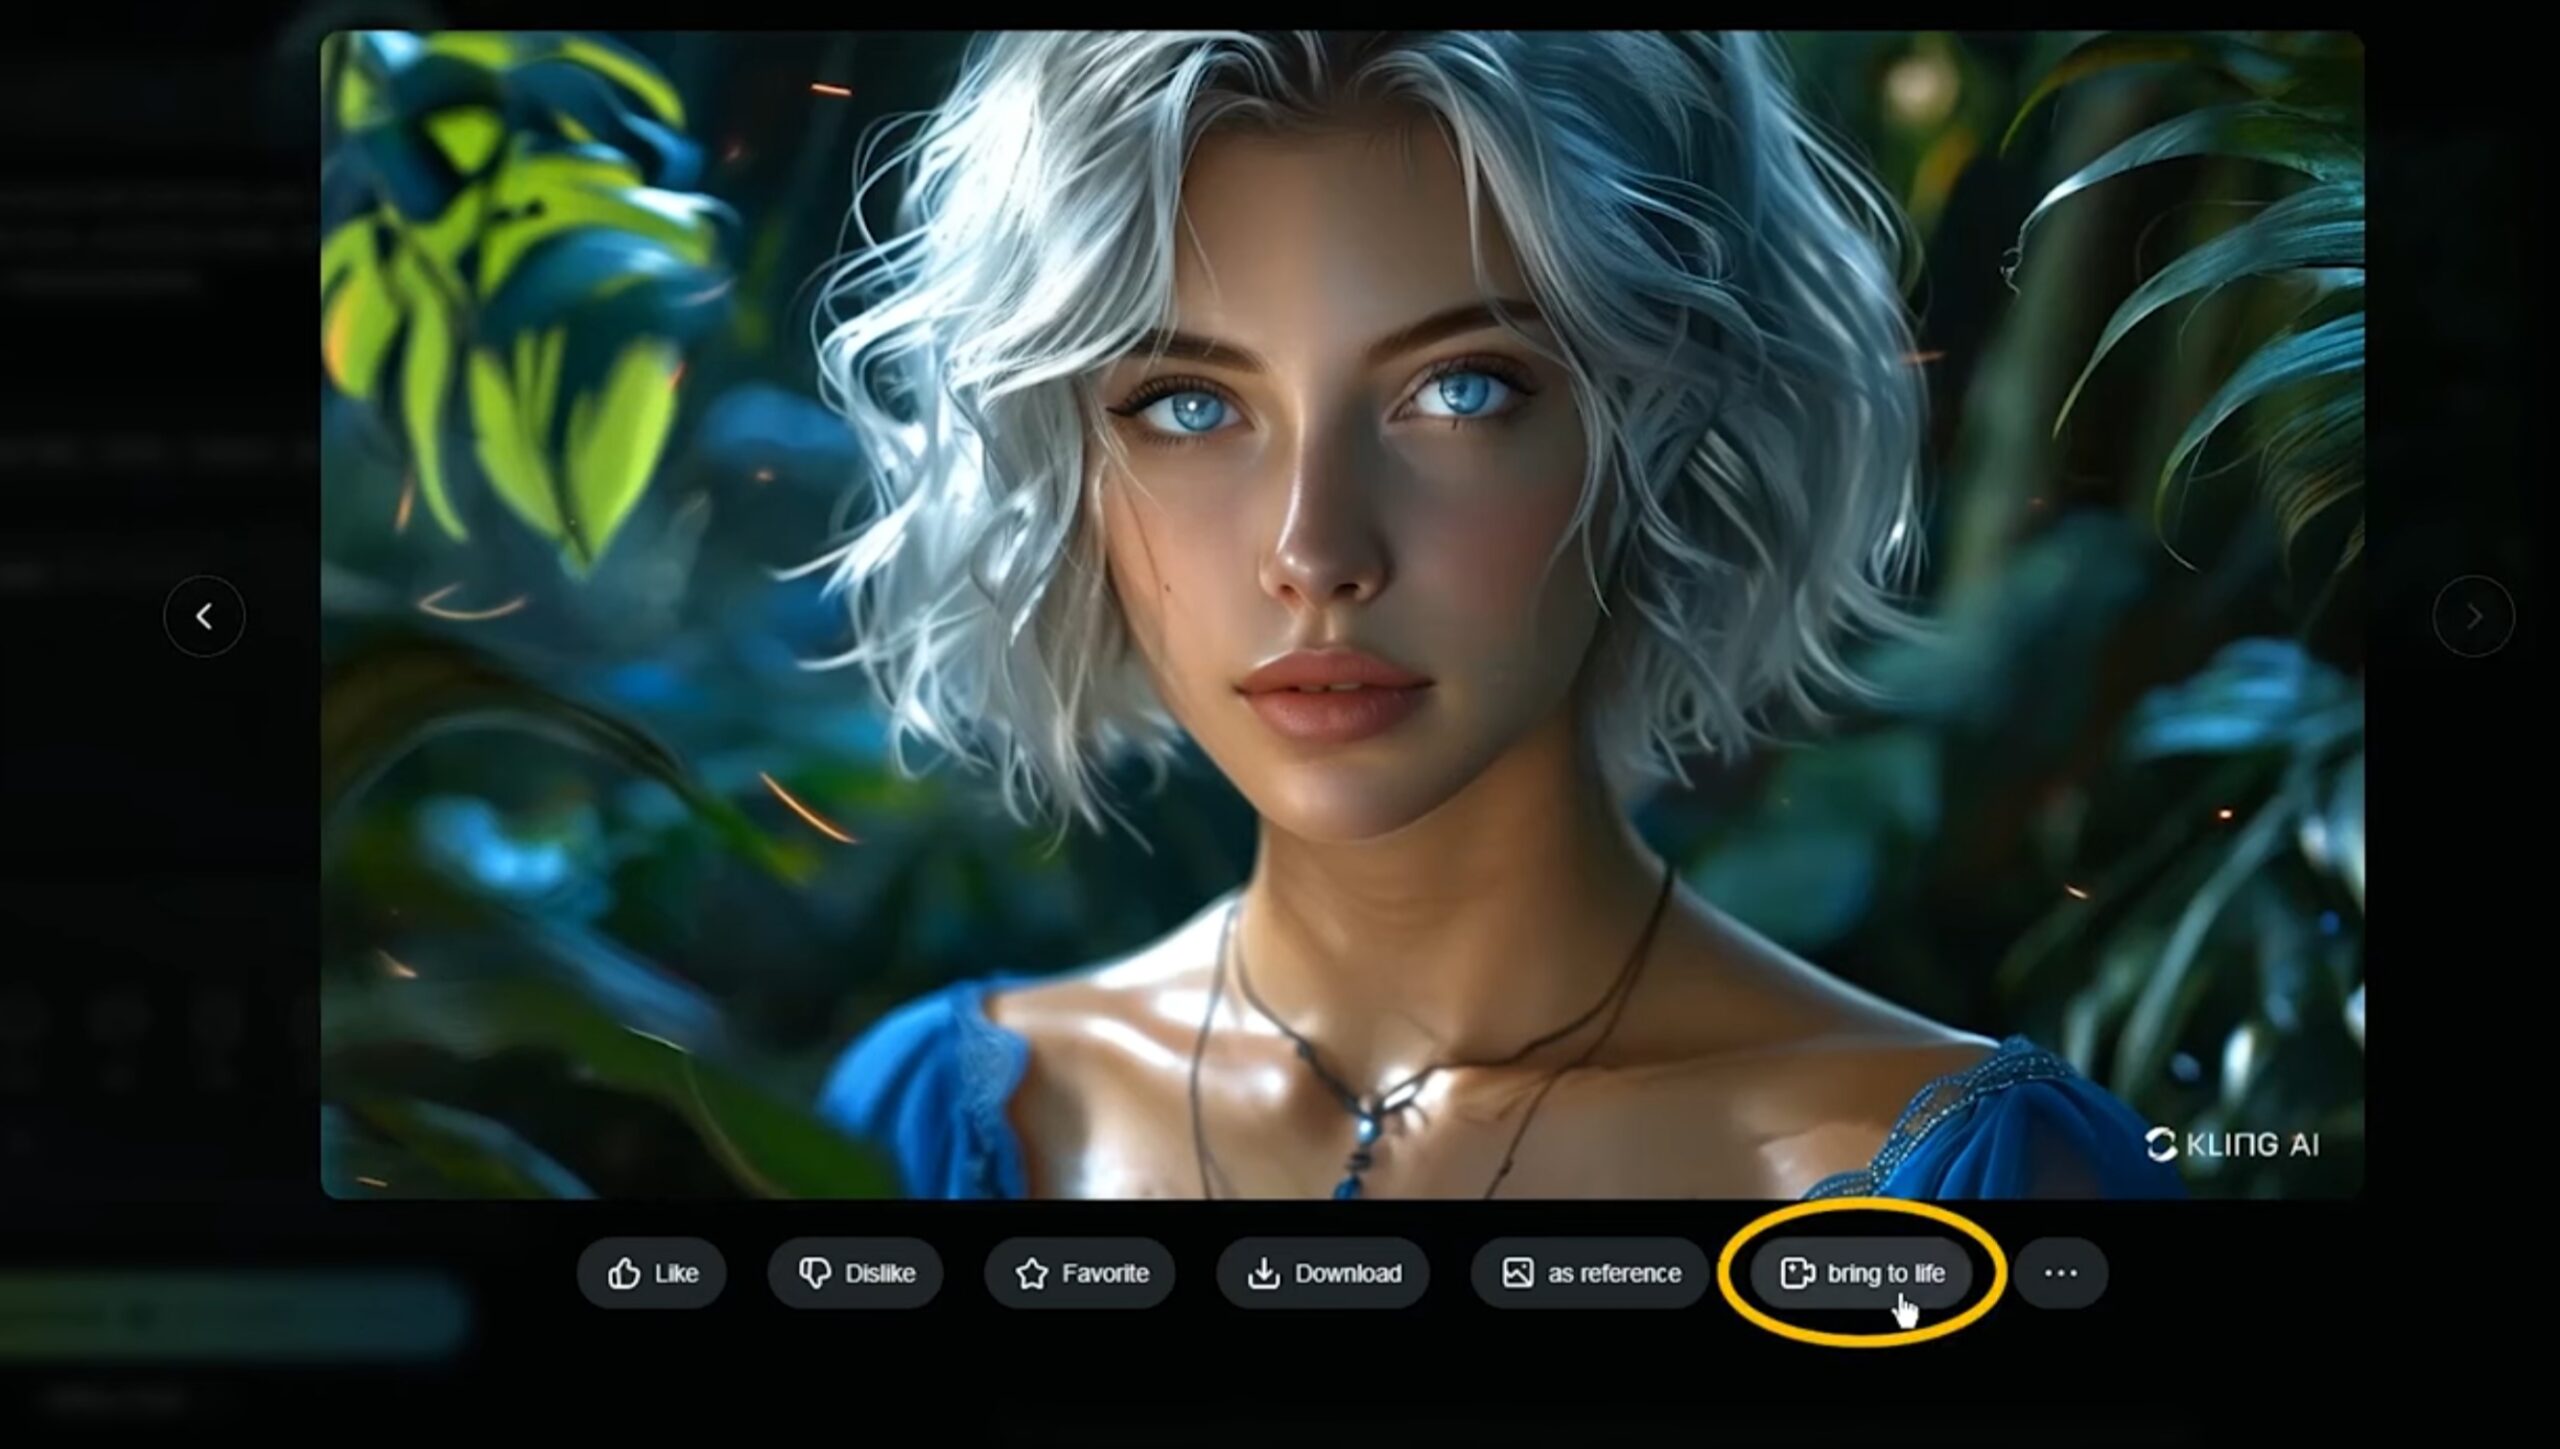
In the ever-evolving landscape of digital content creation, Kling AI stands out as a powerful tool that empowers creators to turn their imagination into stunning visuals and videos. Whether you’re a seasoned content creator or a curious beginner, Kling AI offers a range of features like text-to-video, image-to-video, and AI image generation that can elevate your creative projects. In this comprehensive tutorial, we’ll delve into these functionalities, guiding you step-by-step through the process of creating unique AI-generated content.
Getting Started with Kling AI:
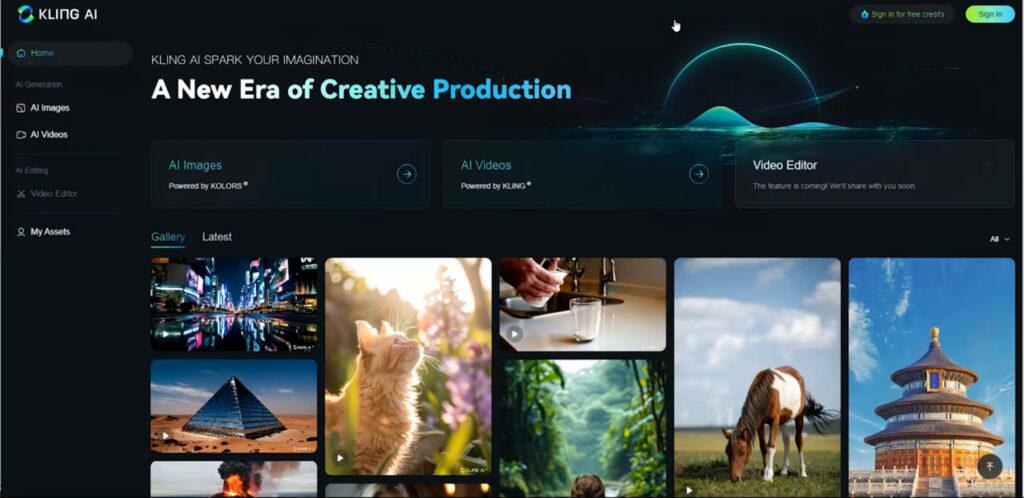
Before we dive into the exciting features of Kling AI, you’ll need to set up an account and get familiar with the platform.
Ai website link – https://klingai.com/
Step 1: Creating an Account and Logging In
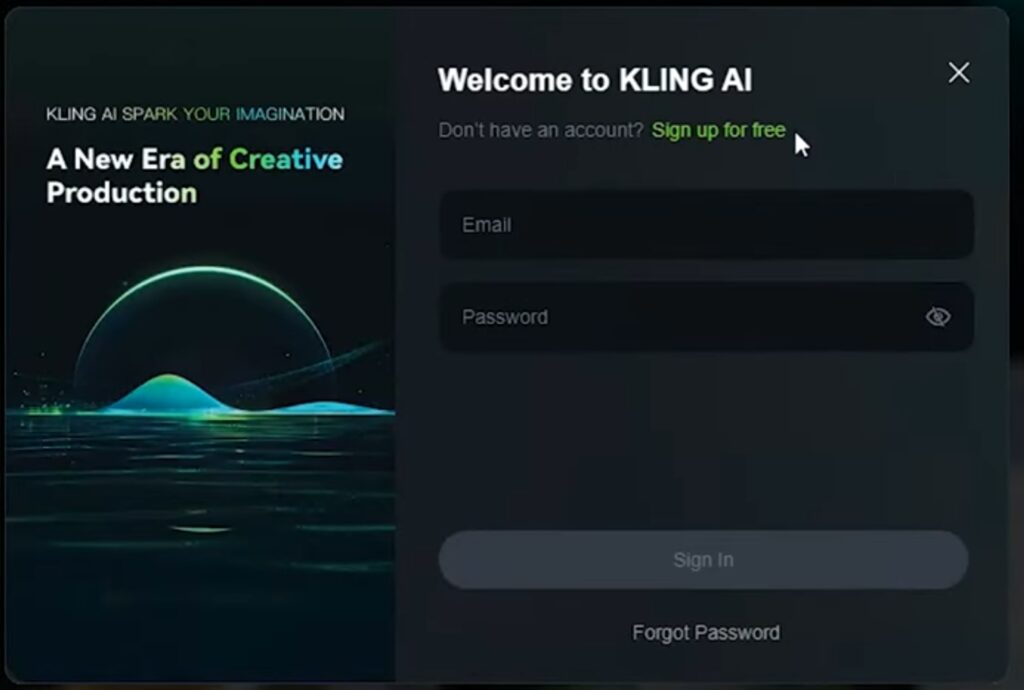
1-Visit the Kling AI Website: Head over to Kling AI to access the platform.
2-Sign Up: If you’re new to Kling AI, click on the ‘Sign Up’ button and follow the registration process. You’ll need to provide a valid email address and create a password.
3-Log In: Use your credentials to log in. Once logged in, you’ll be greeted by a sleek dashboard, your gateway to AI-powered creativity.
Exploring the Dashboard
The Kling AI dashboard is user-friendly, offering easy access to its main features: AI Image, AI Video, and Video Editor. Each section is designed to cater to different aspects of content creation, allowing you to effortlessly switch between generating images and videos.
Creating Videos from Text: The Text-to-Video Feature.
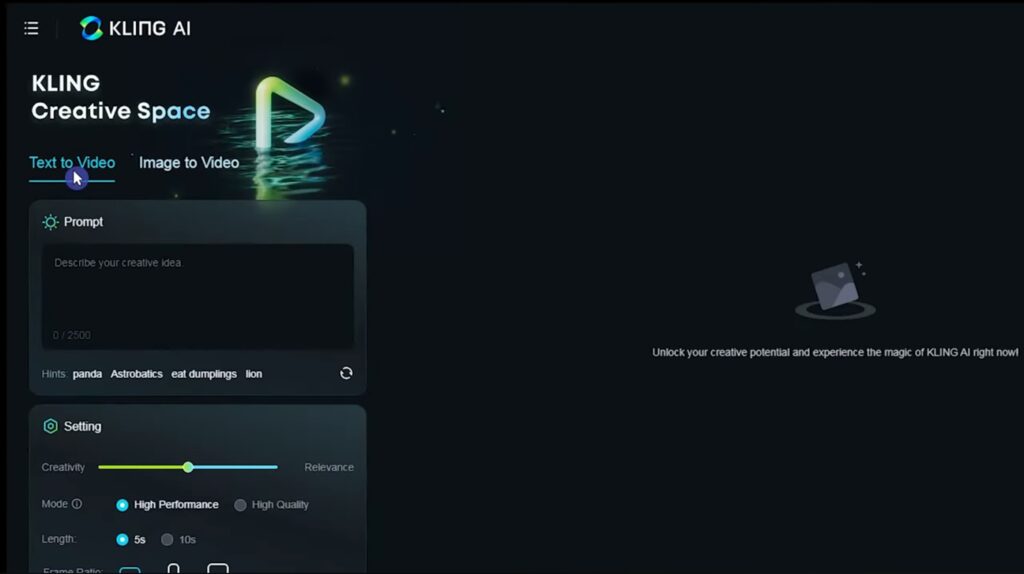
One of Kling AI’s most remarkable features is its ability to create videos from text descriptions. This tool can bring your words to life, making it ideal for storytellers, marketers, and educators.
Step 2: Navigating to Text-to-Video
1-Select ‘AI Video’: From the main dashboard, click on the ‘AI Video’ option
2-Choose ‘Text-to-Video’: In the AI Video section, select ‘Text-to-Video’ to start creating.
Step 3: Writing an Effective Prompt
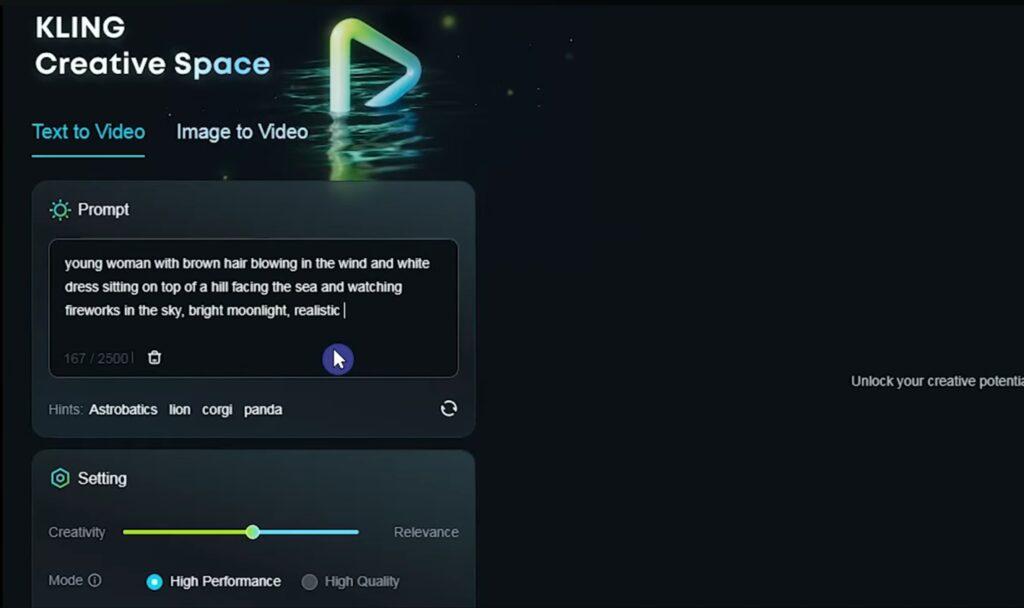
The prompt is the core of the text-to-video feature. It directs the AI in creating the visuals. For best results, be descriptive and specific.
Example Prompt:
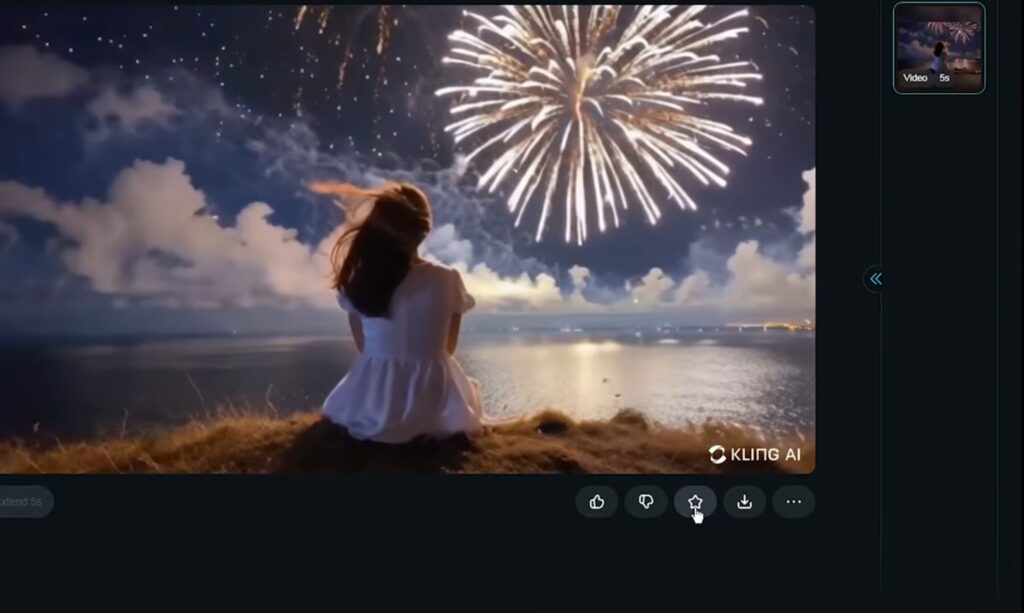
| A young woman with brown hair glowing in the wind and a white dress sitting on the top of a hill facing the sea, watching fireworks in the sky under a bright moonlight. Realistic. |
Step 4: Configuring Video Settings
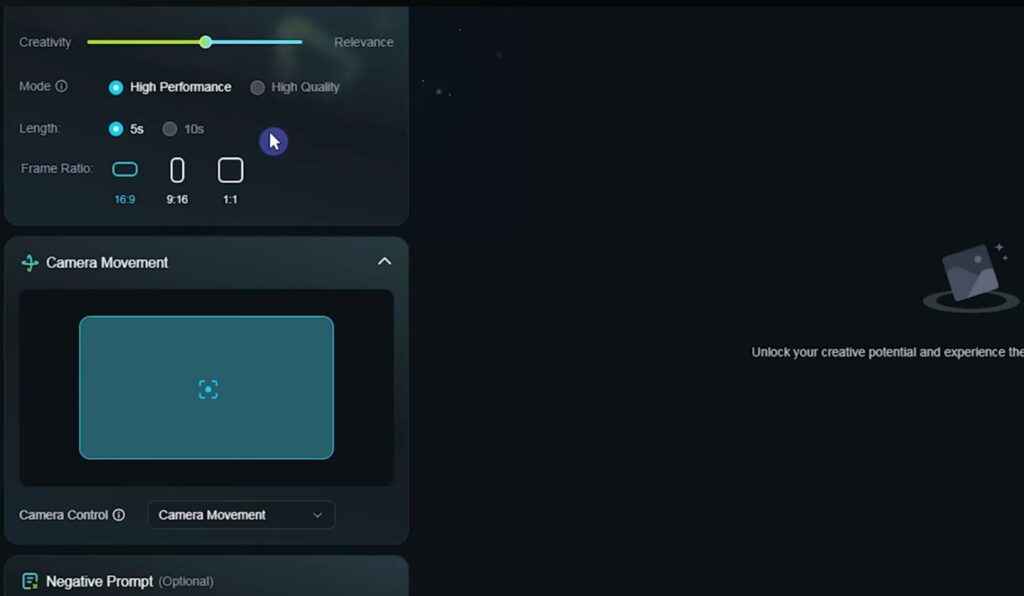
Mode: Choose a mode that suits the style and complexity you want.
Length: Set the desired length of the video. Consider the narrative flow when deciding on duration.
Frame Ratio: Select the appropriate frame ratio for your platform (e.g., 16:9 for YouTube).
Camera Control: You can define specific camera movements to enhance the storytelling aspect.
Step 5: Generating and Reviewing Your Video
1-Generate: Click ‘Generate’ to start the process. The AI will begin rendering the video based on your prompt and settings.
2-Review: Once generated, preview the video. Make sure it aligns with your vision.
3-Download: If satisfied, download the video. If not, you can adjust the prompt or settings and regenerate.
Result –
Transforming Images into Videos: The Image-to-Video Feature
Turning a static image into a dynamic video can add a whole new dimension to your visuals. Kling AI’s image-to-video feature makes this transformation simple and intuitive.
Step 6: Navigating to Image-to-Video.
1-Select ‘AI Video’: Click on ‘AI Video’ from the dashboard.
2-Choose ‘Image-to-Video’: In the AI Video section, select ‘Image-to-Video’.
Step 7: Uploading and Using Images.

Upload Image: Upload your chosen image in JPG or PNG format.
Reference Image (Optional): If you have a specific style in mind, upload a reference image to guide the AI.
Step 8: Writing the Motion Prompt.
Example Prompt:
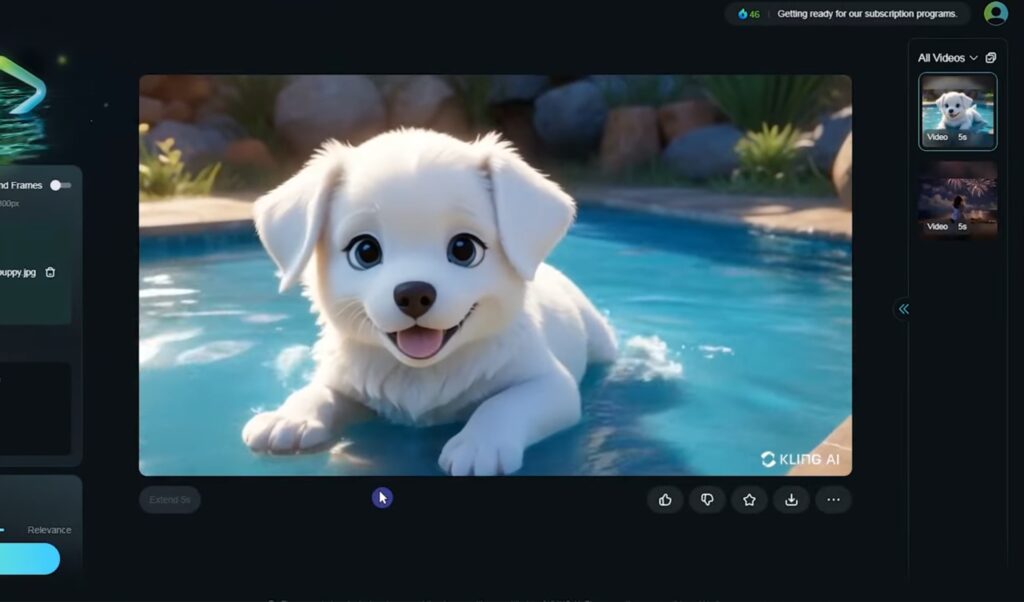
| A white dog running through a field of flowers under a clear blue sky. |
Step 9: Configuring Video Settings.
Video Ratio: Set the aspect ratio suitable for your project.
Additional Settings: Adjust settings such as motion speed, transitions, and effects.
Step 10: Generating and Reviewing Your Video.
Generate: Click ‘Generate’ to start the process.
Review: Once complete, review the video and make any necessary adjustments.
Download: Download the final product or regenerate if changes are needed.
Result-
Creating Stunning AI Images: The AI Image Feature.
Step 11: Navigating to AI Image
Select ‘AI Image’: Click on ‘AI Image’ from the dashboard.
Step 12: Crafting the Image Prompt.
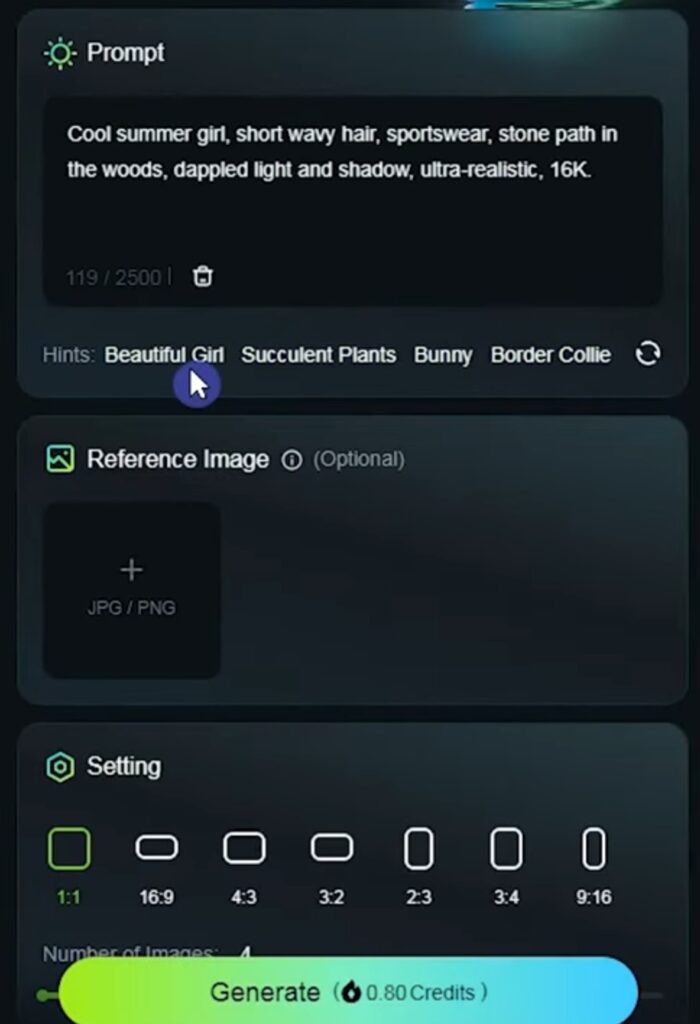
Your prompt should be vivid and detailed to ensure the AI captures your vision.
Example Prompt:
| A surreal landscape with floating islands and a purple sky filled with stars. |
Step 13: Adjusting Image Settings.
Resolution: Set the image resolution according to your needs.
Style: Choose a style, such as realistic, cartoon, or abstract.
Color Palette: Specify a color palette if you have a particular mood in mind.
Step 14: Generating and Reviewing Your Image.
Generate: Click ‘Generate’ to create the image.
Review: Review the generated image. You can adjust the prompt and regenerate if necessary.
Download: Download the image for use in your projects.
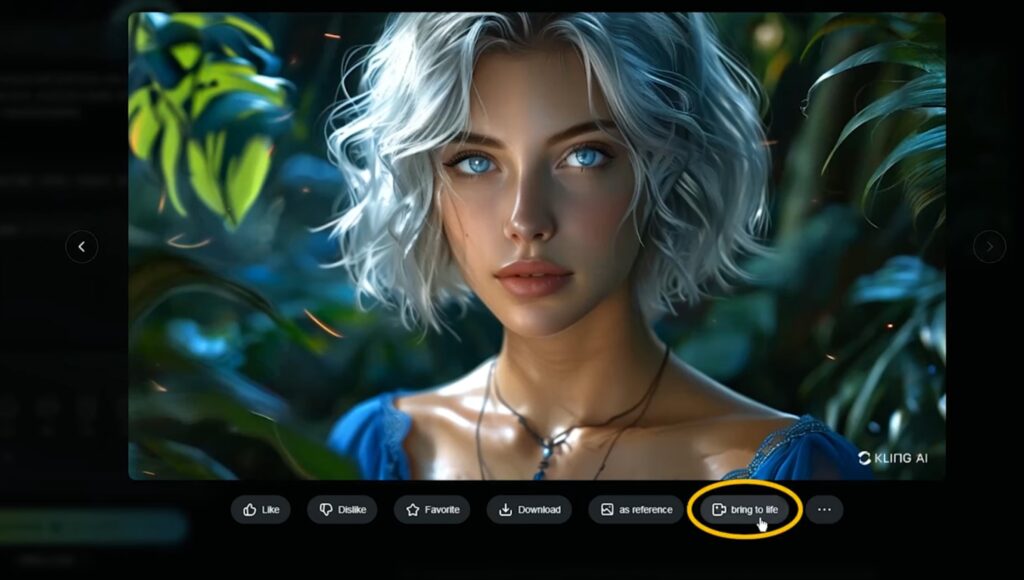
Result-
Conclusion:
Kling AI is a versatile and powerful platform that opens up endless creative possibilities. Whether you’re crafting a video from a text description, bringing an image to life with movement, or generating unique AI images, Kling AI provides the tools you need to explore and expand your creative horizons. Remember, the key to getting the best results lies in experimenting with prompts and settings—don’t be afraid to tweak and refine your input for optimal output.By following this guide, you’ll be well on your way to mastering Kling AI and producing captivating content that stands out in a crowded digital world. Happy creating!
More About Steve AI-
